LKMT: CW - Keyin' Coach and Trainer
- There are four different training modes:
- Very Simple Key
Enter the character(s) you want to train into the input field.
Open the 'Oszi' screen by pressing the respective push button. Hit the "play" button to start the sound.
Start keying. Try to reproduce the rhythm exactly.
The grid might help you to decide if the timing is right there
(How to enter: Please see 'Input Options')
- Simple Play
Just hit the 'Play' and the 'Oszi' push buttons.
In green colour you will see the provided by the internal generator morse
In red colour you see what you have entered
There are several options to change the presentation - just see 'Oszi Control Elements'
- Text Repeat
It exactly plays what you have entered in the text input line.
As per default, the "Loop" function is on, so the selected text is provided in a loop, again and again - until you unselect 'Text Repeat' , unselect 'Loop' or just switch 'Play' on
'Text repeat' has it's own text memory, different from 'Play' function to switch more effectively between it. - Echo (Not Active at
the moment)
In my mind, the most effective training mode.
The LKMT provides a character as per the rules of 'Text Repeat' (Whatever you have set)
It is played and system is waiting for you echoing it.
The Green example lines and the grid helps you to see how precise you your entering is. - About Character Recognition
I'm wondering, if I should implement a recognition algorithm
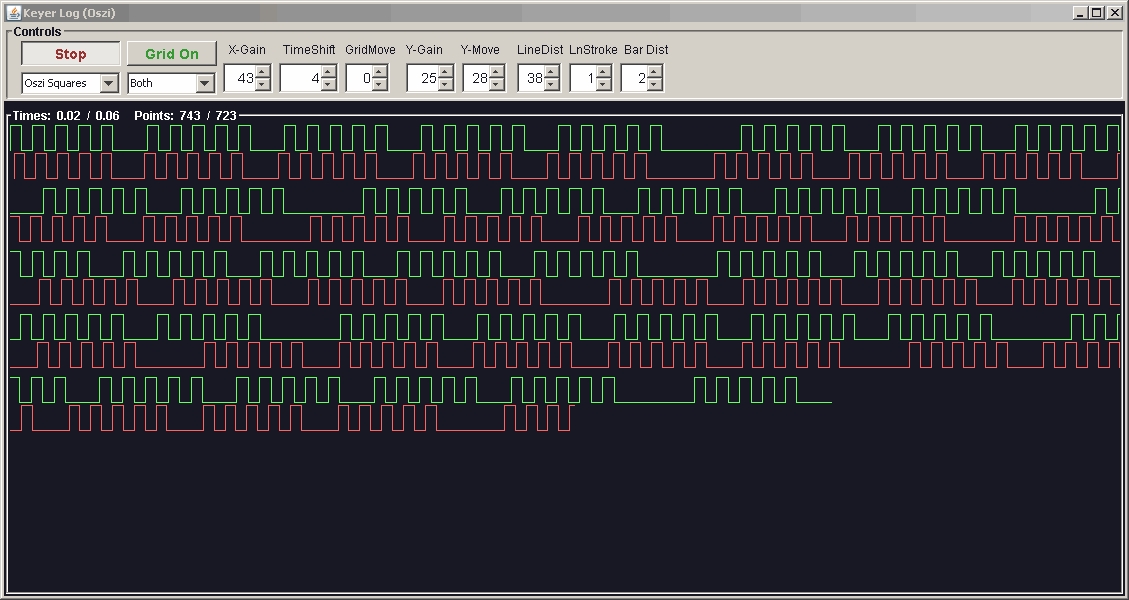
For the time being, just use something like UA9OV's 'CW GET'. Setting key frequency differently for generator, you can set 'CW GET' to get your keying. - The Oszi provides you a direct,
immediate visual feedback to what you are doing with your
morse key - see picture below.
- It might look like this: Green
- generated signs
- Red - keyed in
signs
- It might look like this: Green
- generated signs
- How to enter Morse?
- Short try to get a very first impression:
Mouse Button or the 'Enter' Key - Long Term or for the experienced:
A Morse Key attached to PC via Serial / Com Port. Com port via USB will work of course
- How to link a Morse Key to the Com Port ?
Connect one wire of Morse Key to either to one of
- DTR or RTS
- DSR, CTS, DCD, RING
-
The most easy option nowadays is probaly to use some USB-To-Serial connector as known from the Arduino.
It offers a DTR and a CTS - all we need.
It might look like this:
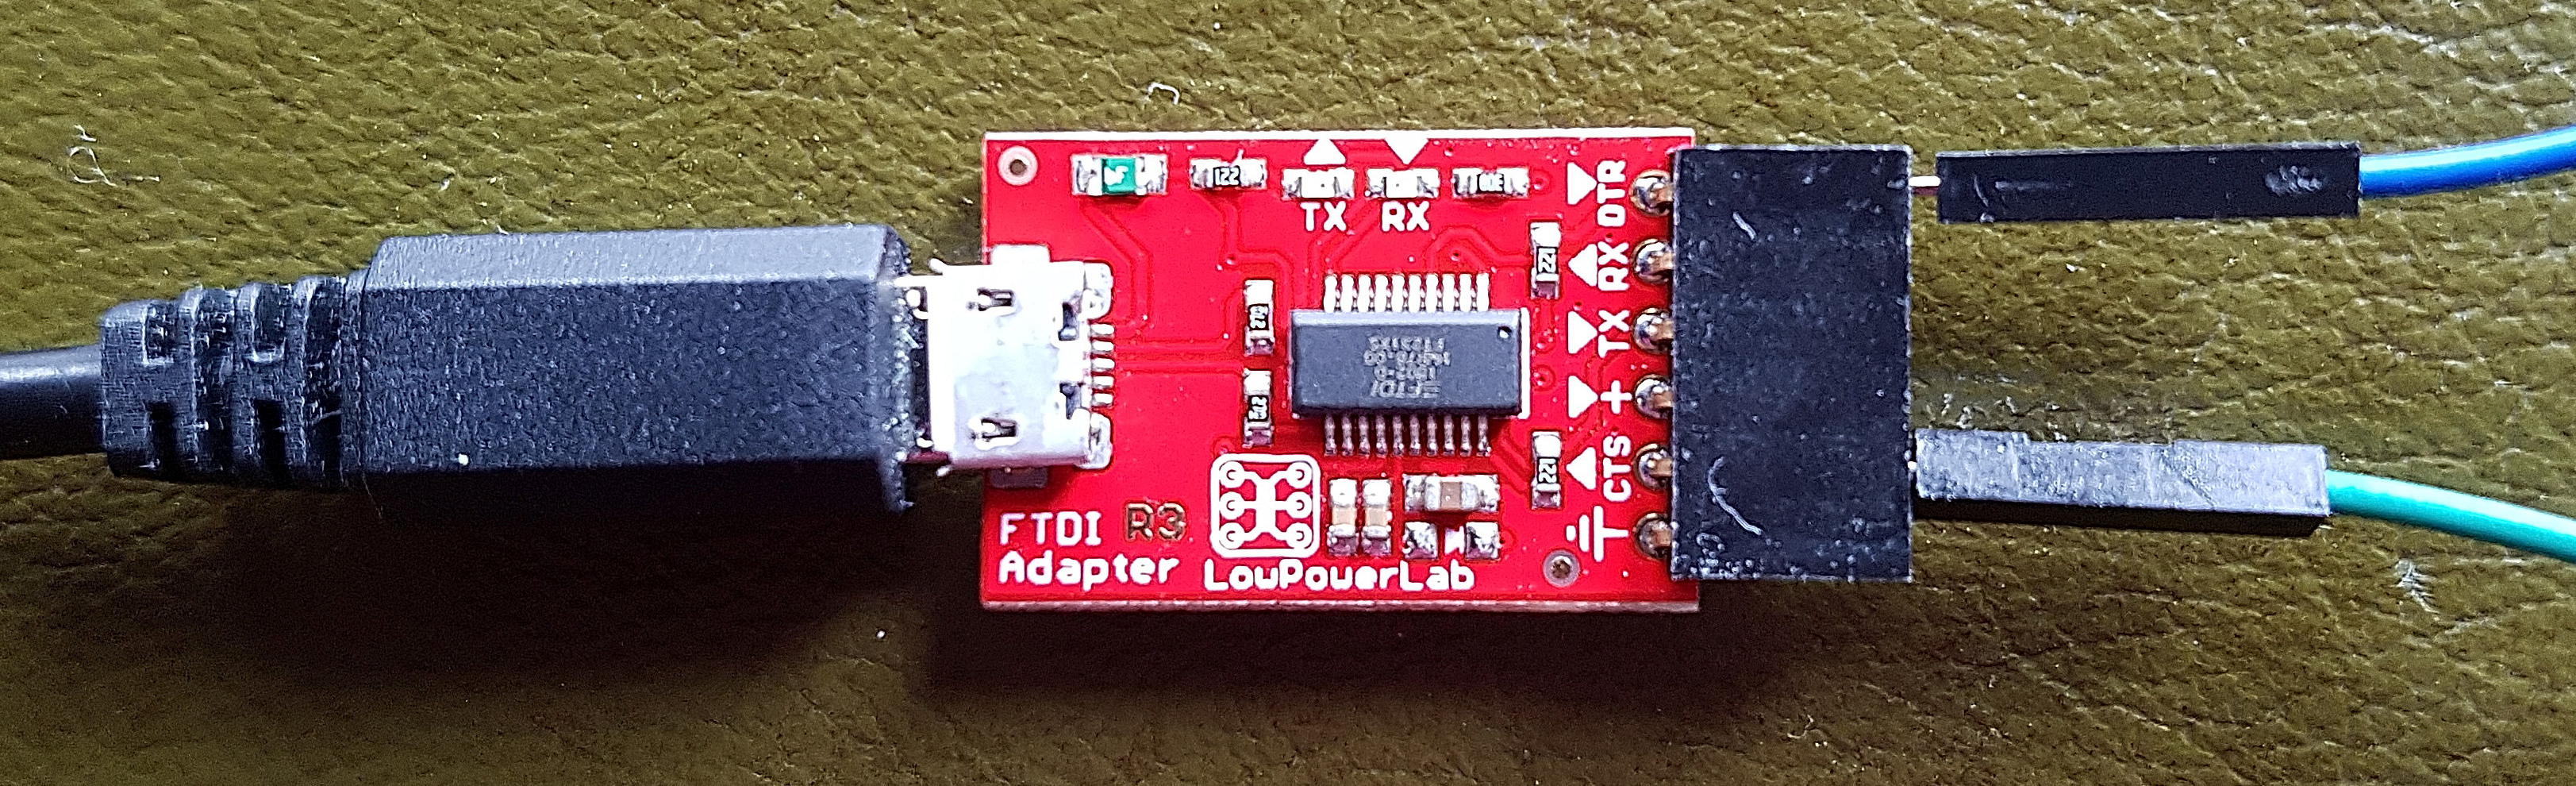
Two of the"Dupont" Wires, putting it all togehter and we are done.
Not very professional, but it fully serves its purpose:
-
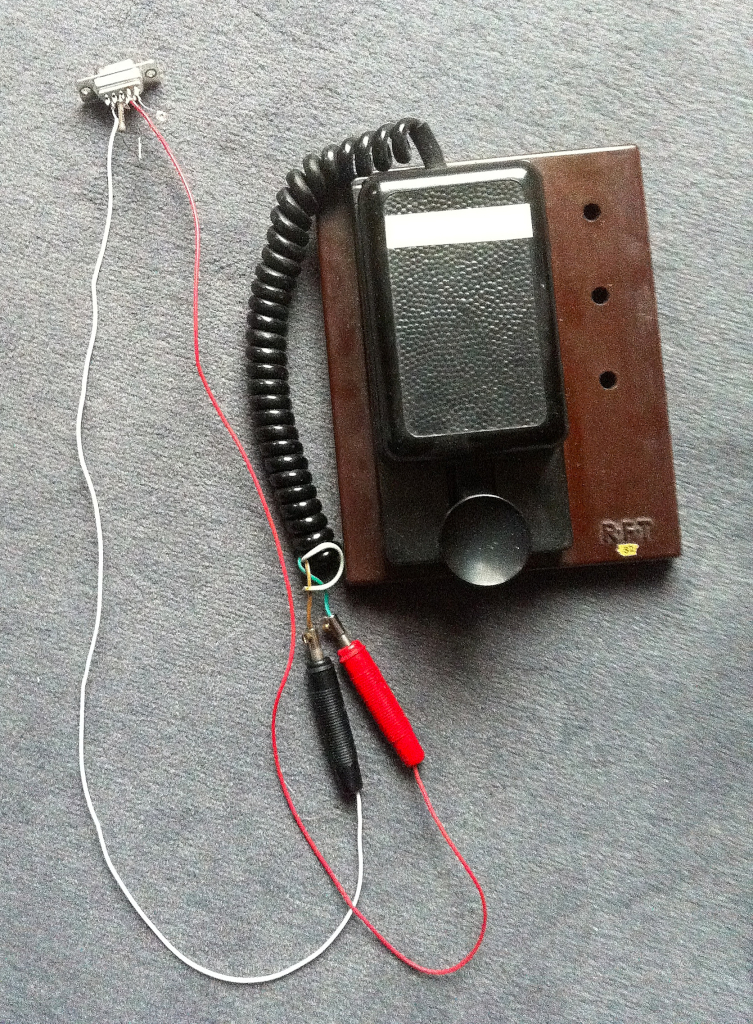
An other option is to use a 9 pin COM socket.
Looking at soldering side of the socket (So totalk from 'rear')
DTR (The second pin at top right, "4")
DSR (The first pin at the bottom left, "6")
Just 2 little pieces of wire and 2 banana plugs - here the connector in detail:
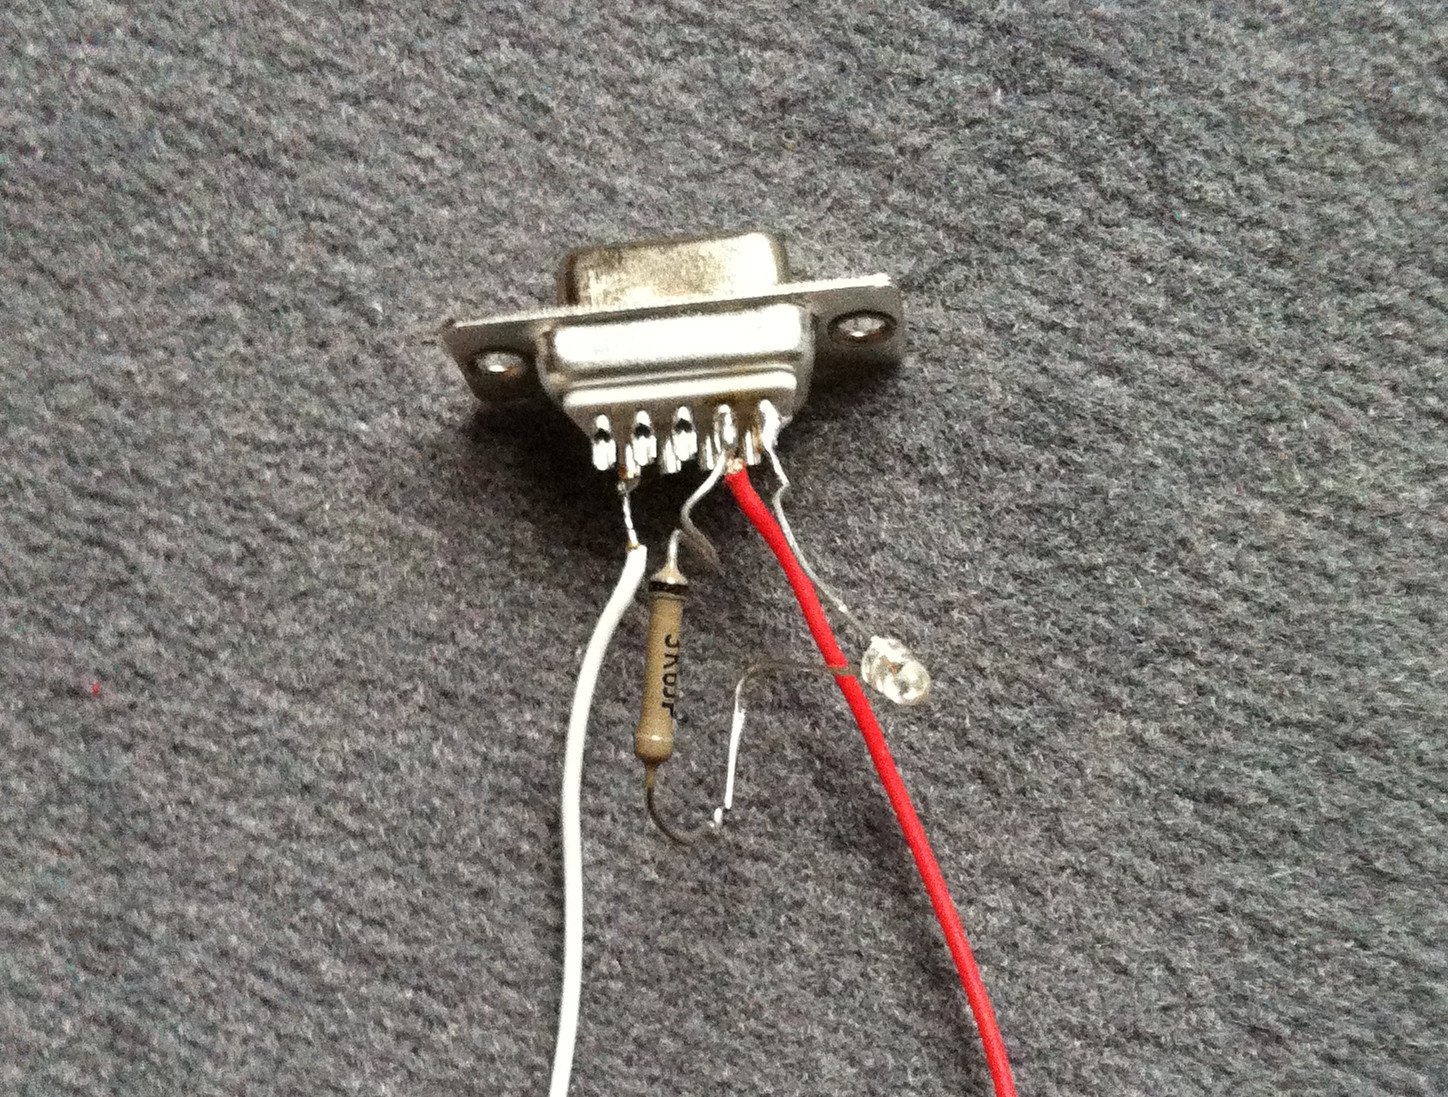
You might wonder for the LED at DTR and the resistor to ground: The LED lights, if port has been opened by software. A little indicator for testing.
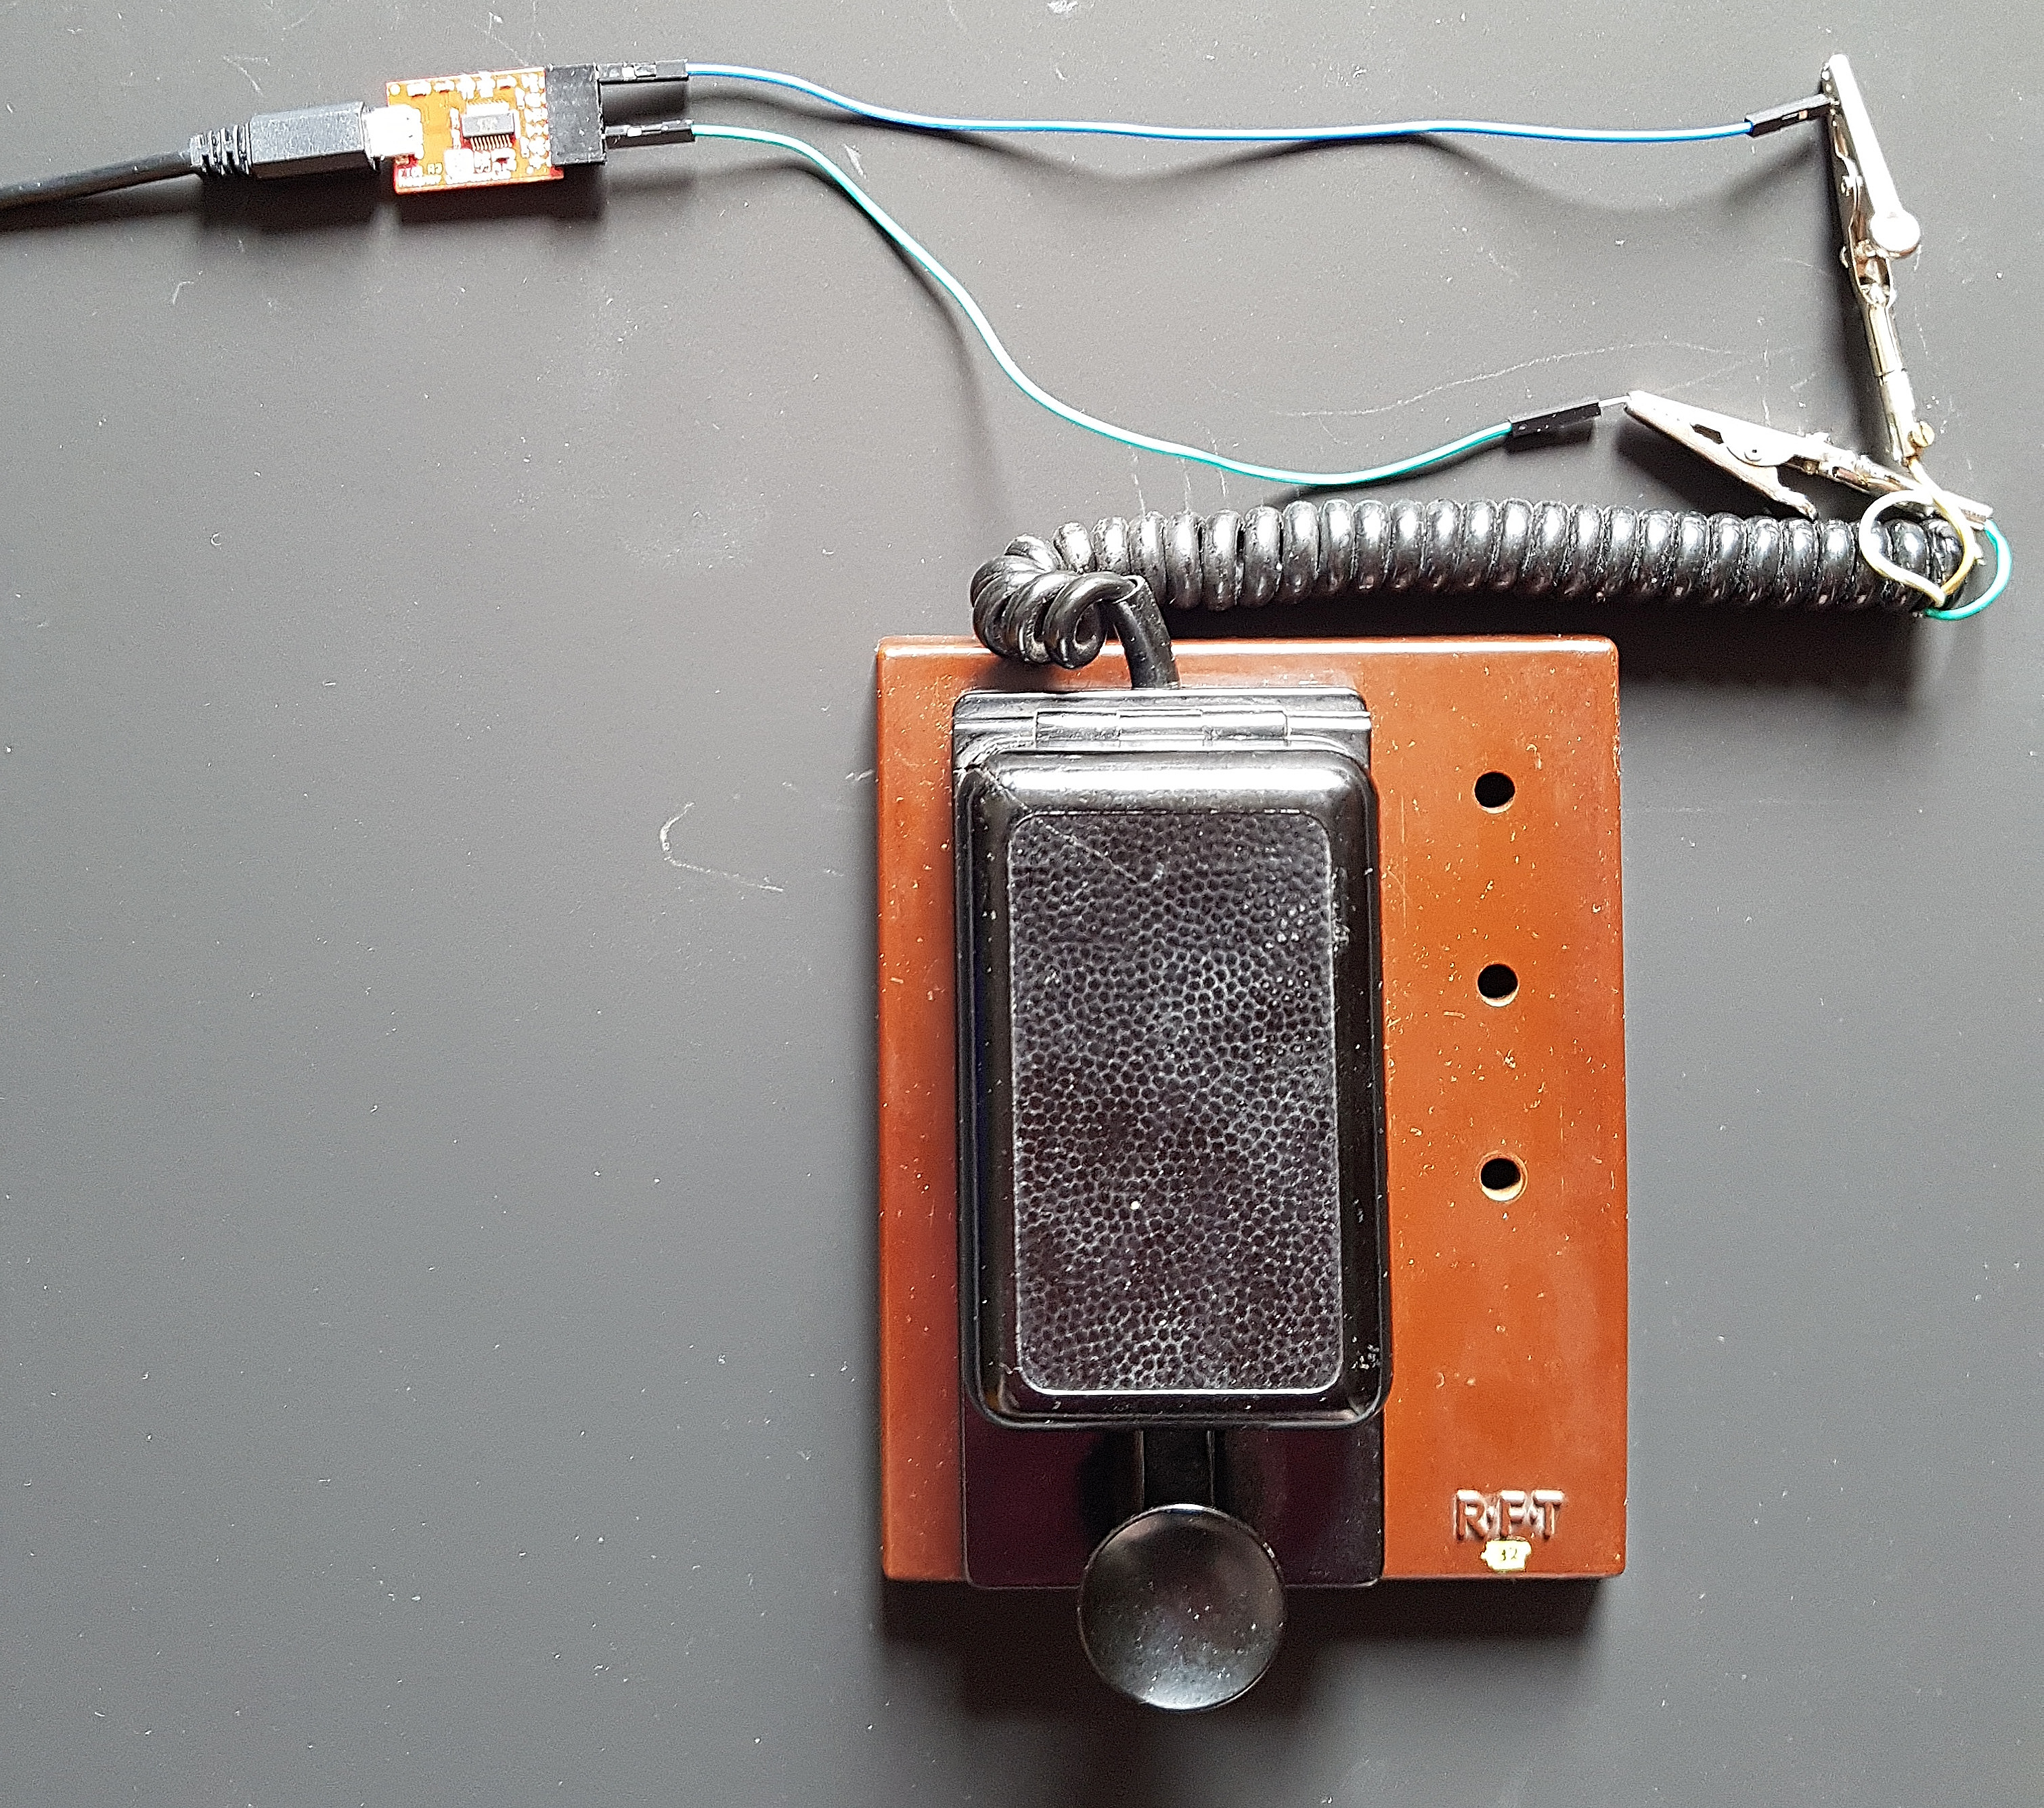
Key and connector all together:
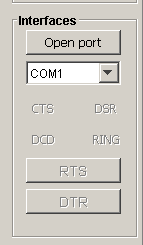
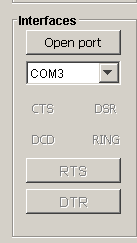
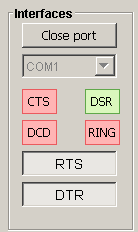
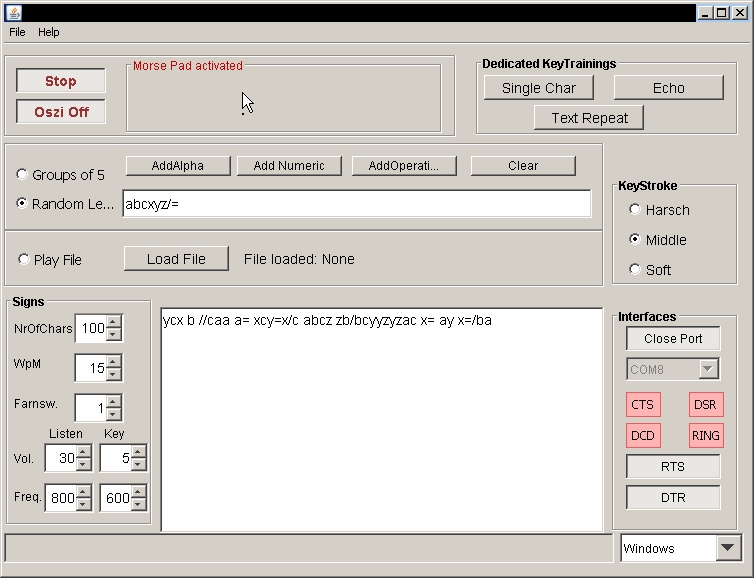
- Any com port can be selected for usage - and the red line indicators
change to green, if the key is used:
- There is no serial / com port or you just wanna try?
Move the mouse to framed area and use left mouse button or enter key to provide the morse signs!
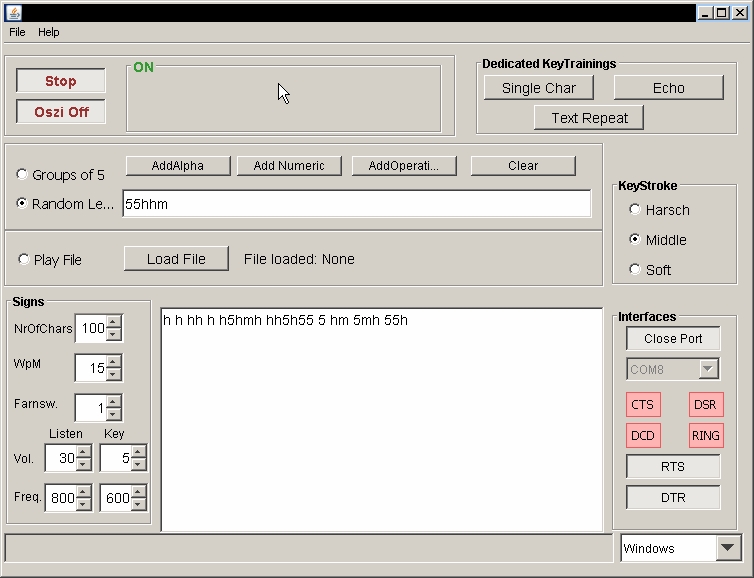
- The "Oszi" push button. It has been implemented for two reasons:
It shows you in parallel what you have keyed in so you can improve your keying capabilities
It shows you the good old morse signs in there first occurence: As dots and lines ... or ... as squares like an oszillograph would do!
- Oszi Control Elements
- Stop (Start)
- Grid
- X-Gain
- Time Shift
- Y-Gain
- Y-Move
- Ln Dist
- Ln Stroke
- Bar Dist
- Grid Move
- X Time Sync / Event Sync
The presentation can be synced in 'Time' or in 'Event'.
Time means, bot lines start at the same time - stamp.
Event means the red keyer line starts not exactly at same time as the player line, but with your first key action. When you start 10 sec late, the red keyer line starts at "0" with the beginning of the green line. Please keep in mind, your red line will always be 10 sec behind the green one. - Oszi Squares / Morse Lines
- Both / Key Input Only /Generated Only
- Info Area: Times / Points
- You want to listen to your keying?
There is a second tone implemented. When it confuses you, set volume to 0.
73 and Cheers,
Ulrich